Run the Project data migration process
Use these steps to run the Project data migration process.
Log into the recently migrated company in Microsoft Dynamics 365 Business Central.
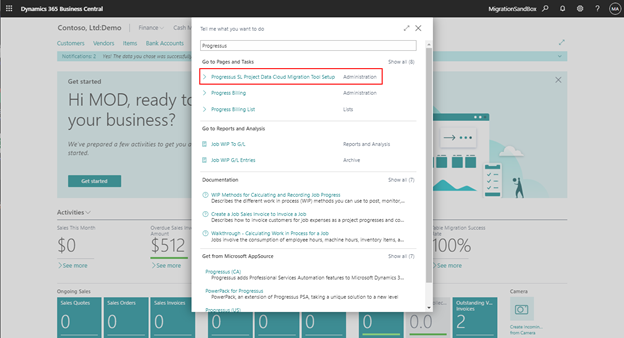
Use the search/tell me feature to look for Progressus SL Project Data Cloud Migration Tool Setup.
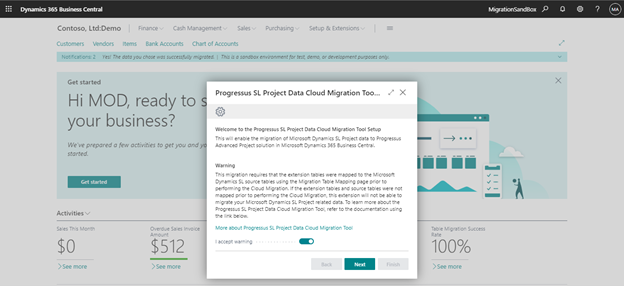
Enable the I accept warning option and click Next.
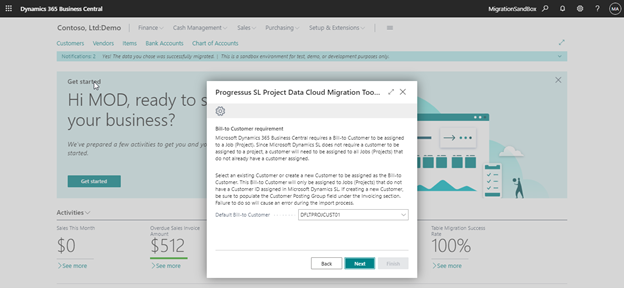
Review the Bill-to Customer requirements and select a Default Bill-to-Customer. Click Next to continue.
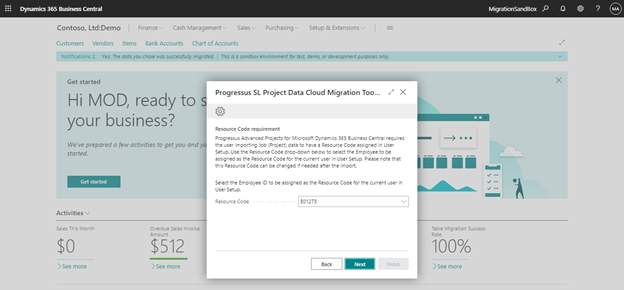
Review the Resource Code requirement and select a Resource Code. Click Next to continue.
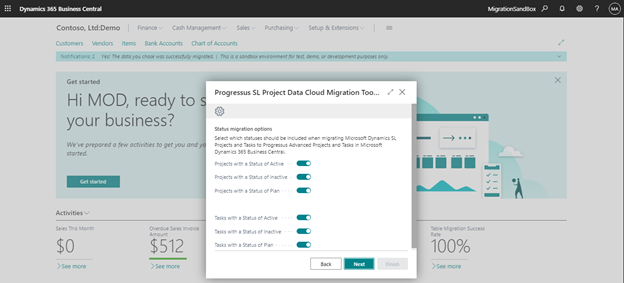
Review the Status migration options and make any necessary changes. Click Next to continue.
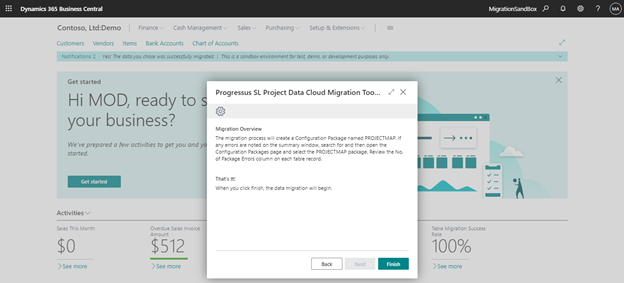
Review the Migration Overview information. Click Finish to start the migration process.
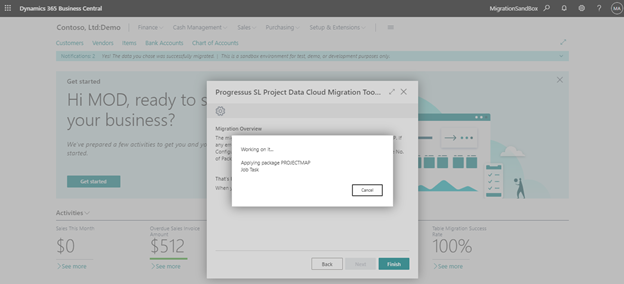
A process page will display the process of the migration.
When the migration has finished, an informational page will display the number of tables processed, the number of errors found, the number of records inserted, and the number of records modified.

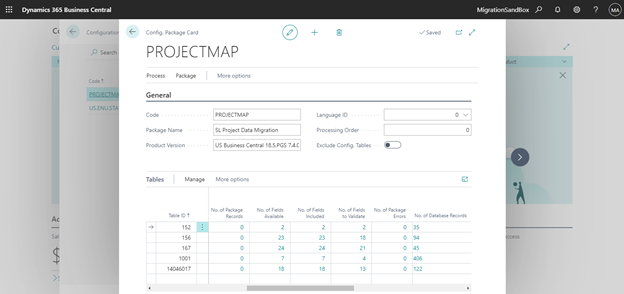
If any errors are found, search for and open the Configuration Packages page.

Select the PROJECTMAP package.

Scroll to the right to locate the No. of Package Errors column.
-
- Click on the number in the No. of Package Errors column to view the records not migrated due to an error.