Configure Migration Table Mapping
Important
The steps in this section should be performed after completing the Cloud Migration Setup wizard and prior to running the migration.
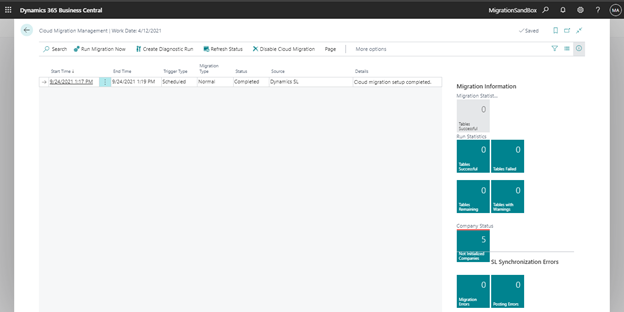
Open the Cloud Migration Management page.
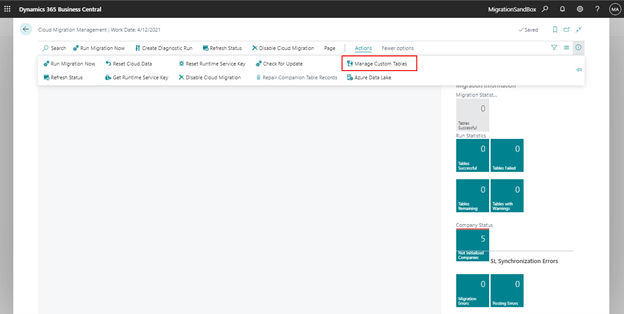
Select More options and then select Actions | Manage Custom Tables.
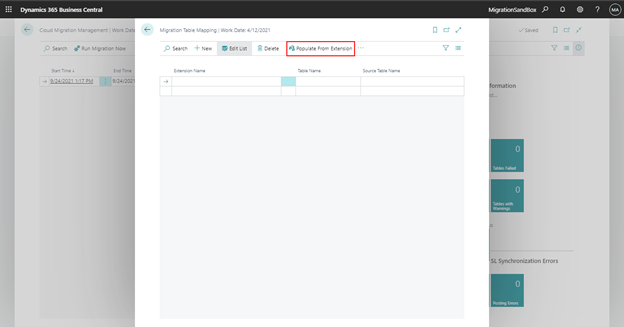
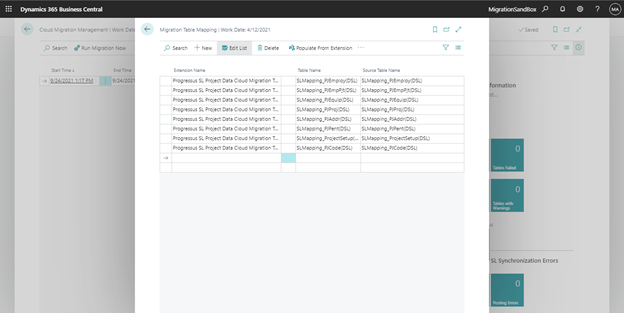
Select Populate From Extension on the Migration Table Mapping page.
Select Progressus SL Project Data Cloud Migration Tool from the list.
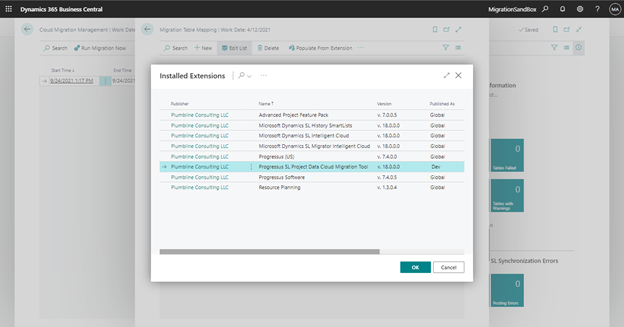
The page will be populated with the tables include with the selected extension.
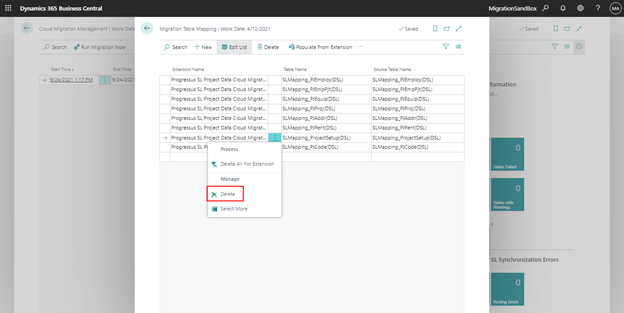
Delete the row with SLMapping_ProjectSetup(DSL) listed in the Table Name and Source Table Name columns.
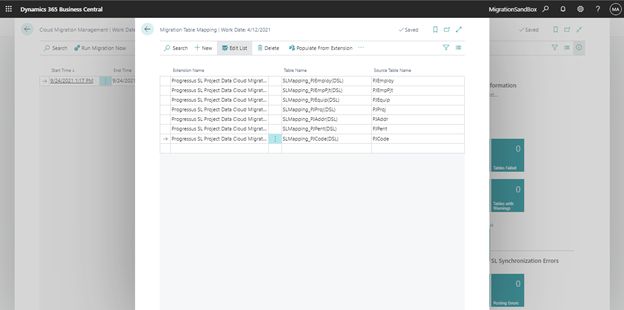
In the Source Table Name column, remove the SLMapping_ prefix and the (DSL) suffix from each of the remaining records. What is left in the Source Table Name column should be the Dynamics SL table name.
Close theMigration Table Mapping page.
Proceed to next step - Run the standard migration process